How to know when your refrigerator needs repair comes down to recognizing cooling problems, leaks, loud or constant noises, ice buildup, or food spoiling early. If the fresh-food section won’t hold 37–40°F, the freezer can’t reach 0°F, or the compressor runs nonstop, professional service is needed.
By Vivek Sabhaya, JK Appliances • Last updated: 2026-04-13
Summary
The fastest way to decide if a fridge needs repair is to measure temperatures, listen for abnormal cycling, check for leaks and frost, and test door seals. If food spoils early, temps drift above 40°F, or the freezer never hits 0°F, schedule service to prevent food loss and compressor damage.
- What you’ll learn: 12 clear warning signs, quick tests, safe DIY checks, and when to call a pro.
- Why it matters: Protect food, reduce energy waste, and avoid bigger, costlier failures.
- Who it’s for: Homeowners and condo residents in Toronto and the GTA who value fast, reliable help.
- How JK Appliances helps: Same-day appointments, licensed and insured techs, 90% first-visit fix rate, and a 180-day parts and labor warranty.
Quick Answer
How to know when your refrigerator needs repair: If your fridge can’t maintain 37–40°F, the freezer won’t reach 0°F, you see leaks or frost sheets, or the unit runs loudly without resting, it’s time to book service. Near 18 Yonge St #3509, JK Appliances provides same-day, warranty-backed refrigerator repair across Toronto and the GTA.
Local Tips
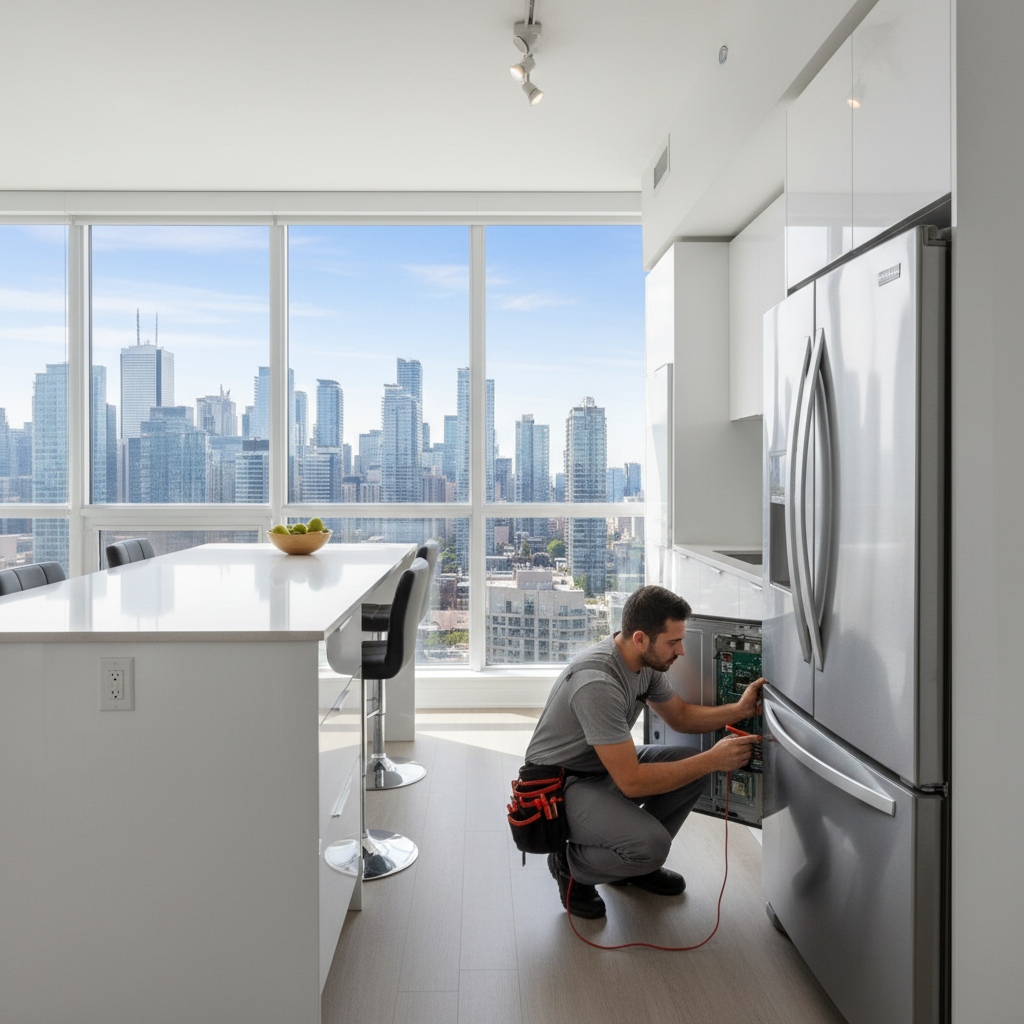
- Tip 1: High-rise condos around 18 Yonge St often place fridges in tight alcoves. Leave 1–2 inches of clearance at the back and sides to avoid overheating and nuisance temperature alarms.
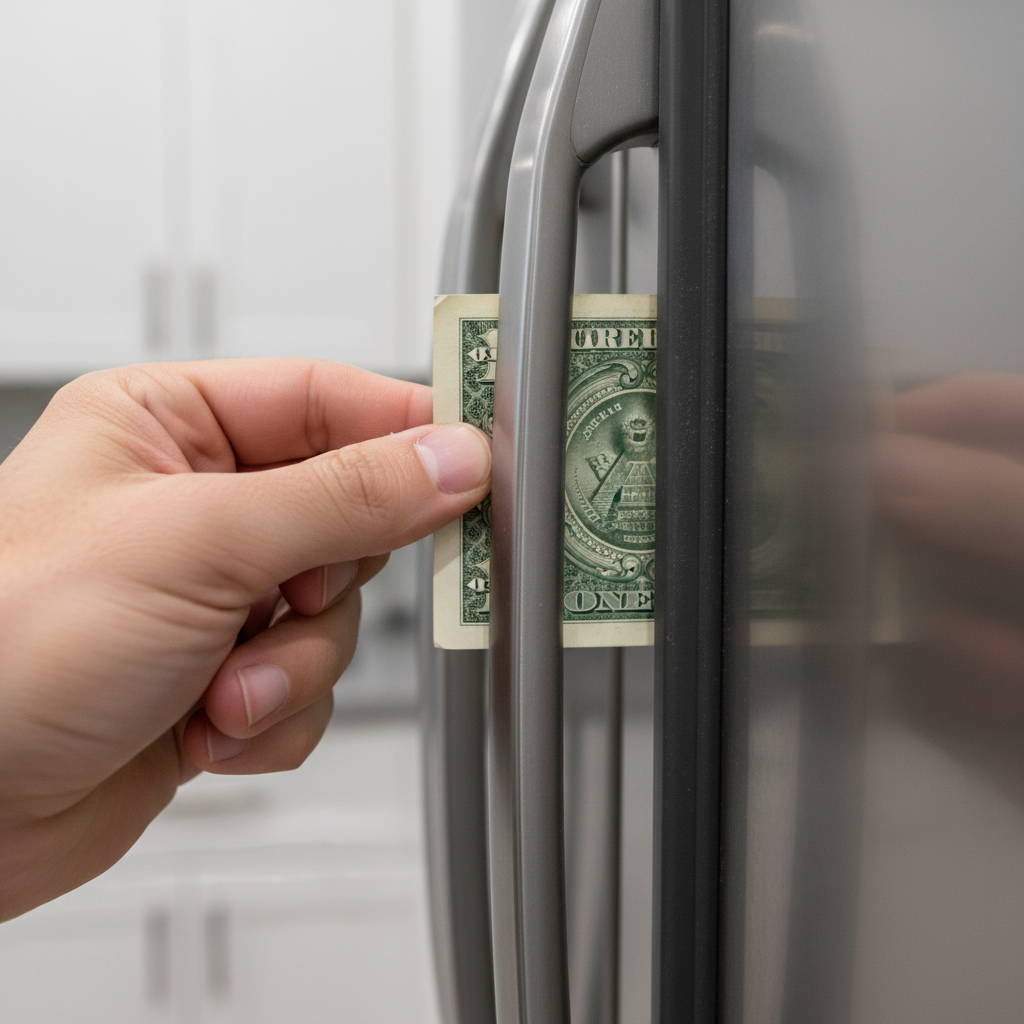
- Tip 2: Waterfront humidity can exaggerate gasket leaks. Do the dollar-bill test each spring and fall and wipe seals with mild soap to prevent warm-air infiltration.
- Tip 3: Many buildings limit weekend work. If you need quiet, request a weekday same-day appointment. JK Appliances dispatches licensed, TSSA-certified techs across downtown and the GTA, including after-hours emergencies.
IMPORTANT: These tips reflect downtown Toronto condo layouts and ventilation constraints we see on service calls.
Introduction
Your refrigerator needs repair when it can’t hold food-safe temperatures, leaks water, builds heavy frost, or makes persistent unusual noises. Confirm temperatures first, then run safe checks—gaskets, coils, ventilation, and leveling—before booking a licensed technician for sealed-system or electrical issues.
Here’s the thing: fridges rarely fail overnight. They usually whisper first with small temp swings or new sounds. Catching those early signs protects food, reduces energy use, and prevents compressor stress.
- Food safety first: The USDA recommends fridges at 40°F or below and freezers at 0°F.
- Field insight: JK Appliances completes 90% of fixes on the first visit and backs work with a 180-day parts and labor warranty.
- Brand-agnostic: We service Samsung, LG, Whirlpool, GE, Bosch, Maytag, KitchenAid, Electrolux, Miele, Frigidaire, and more.
Before You Start (Prerequisites)
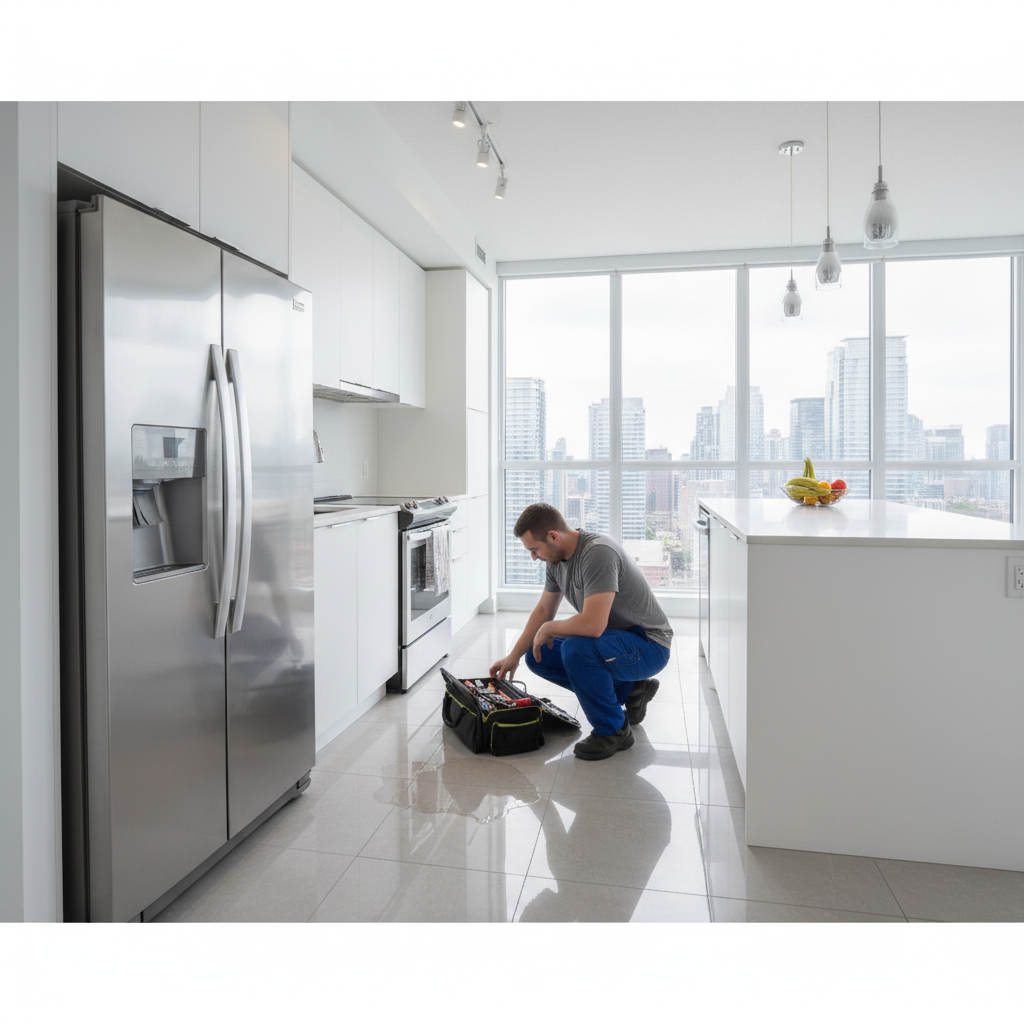
Gather a fridge thermometer, a dollar bill, a soft brush vacuum, mild soap, and a small level. Document symptoms and your model number. Unplug only when cleaning coils or moving the unit. If you smell burning, hear arcing, or see water near outlets, stop and call a pro.
- Tools you’ll need:
- Refrigerator thermometer (digital preferred)
- Soft brush plus vacuum with crevice tool
- Microfiber cloths and mild dish soap
- Dollar bill for gasket testing
- Small torpedo level (or a smartphone level app)
- Info to capture: Make, model, serial, observed errors/beeps, and when symptoms occur. Photos help speed service.
- Safety first: Turn off the water supply before moving a unit with a plumbed ice maker.
- When not to DIY: Sealed-system, refrigerant, or control board faults require licensed technicians.
How to Know When Your Refrigerator Needs Repair: The 12 Signs
Confirm temperatures, clear airflow paths, clean condenser coils, test door seals, level the cabinet, and inspect the ice maker and drain system. If temps stay unstable, you hear short-cycling or grinding, or see frost sheets or leaks, schedule professional diagnostics to protect the compressor and food safety.
1) Verify Food-Safe Temperatures
- Target readings: 37–40°F in the fridge, 0°F in the freezer (USDA guidance).
- How to test: Place a thermometer in a cup of water on the middle shelf; check after 8 hours for a stable reading.
- Why it matters: Above 40°F, bacteria multiply faster and food safety declines quickly.
- Action: If high, reduce door openings, set controls to factory mid-point, wait a full cycle, then retest.
Example: After a big grocery run in a downtown condo, temps may spike. Give the unit several hours to recover before assuming failure.
2) Confirm Freezer Performance
- Simple check: Ice cubes should be hard, not wet or hollow after 24 hours.
- Why it matters: A weak freezer hints at sealed-system or compressor issues that can worsen if ignored.
- Action: Inspect for frost along the back panel; thick ice suggests defrost problems.
In our experience across thousands of GTA calls, freezers that can’t reach 0°F often predict broader cooling trouble within days.
3) Listen for Cycling and New Noises
- Normal: Gentle hums, occasional fan whoosh, and brief defrost sizzles.
- Concerning: Grinding, chirping, metallic scraping, or rapid click-on/click-off every minute.
- Action: Note the pattern and record 30–60 seconds of audio for your technician.
We often trace rapid clicking to a start relay or compressor protection tripping. Don’t keep cycling breakers—book a visit.
4) Inspect Door Gaskets (Dollar-Bill Test)
- Test: Close a dollar bill in the door at multiple spots; you should feel firm resistance.
- Fail: The bill slides out easily, or the gasket is cracked, sticky, or warped.
- Fix: Clean with mild soap; warm a deformed seal with a hair dryer to reshape gently.
Leaky gaskets are one of the most common causes of persistent temperature drift we see in Toronto condos.
5) Check Ventilation and Clearances
- Goal: Leave 1–2 inches at the back and sides; don’t block toe-kick grilles or upper vents.
- Why: Restricted airflow forces longer run times, hotter compressors, and noisy fans.
- Condo tip: Built-in alcoves downtown are tight—pull the unit forward slightly to improve exchange.
Packed countertops and wall-hugging installations around 18 Yonge St #3509 routinely cause avoidable warm complaints.
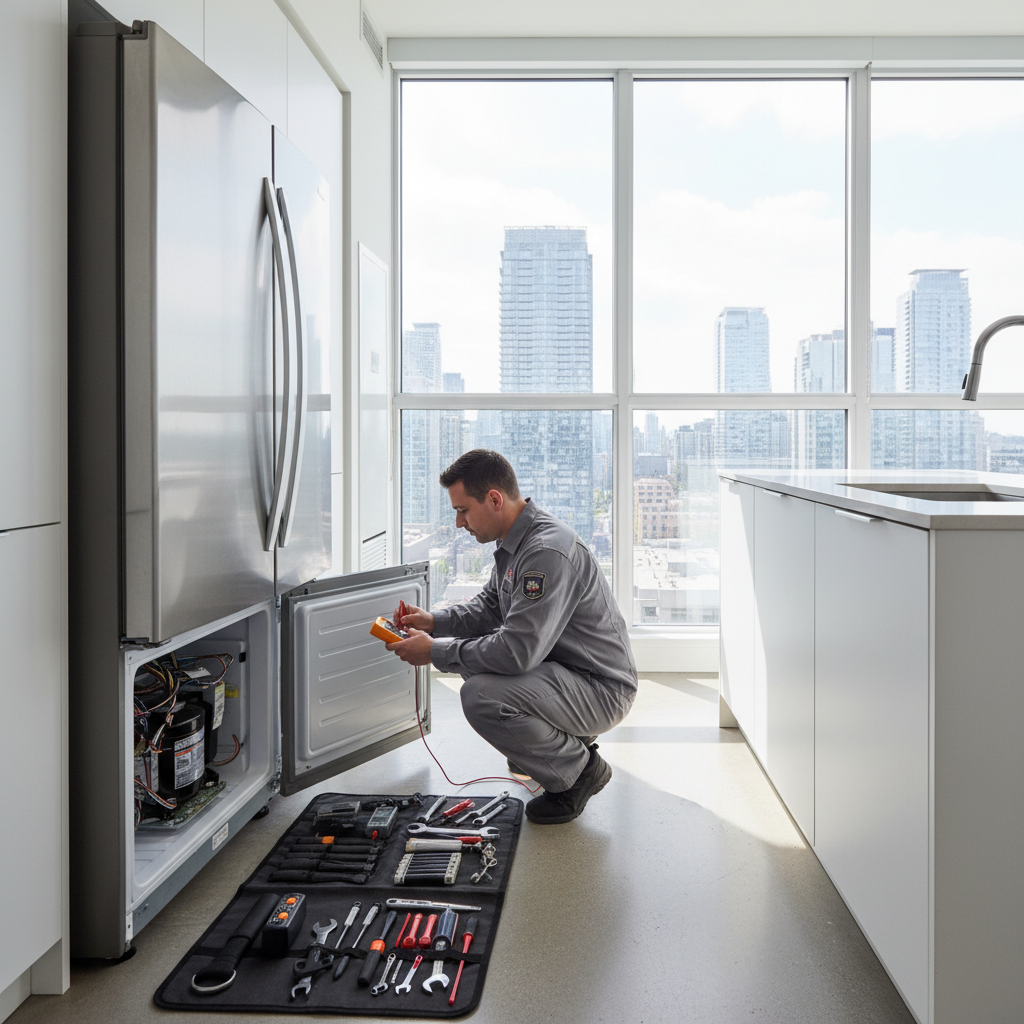
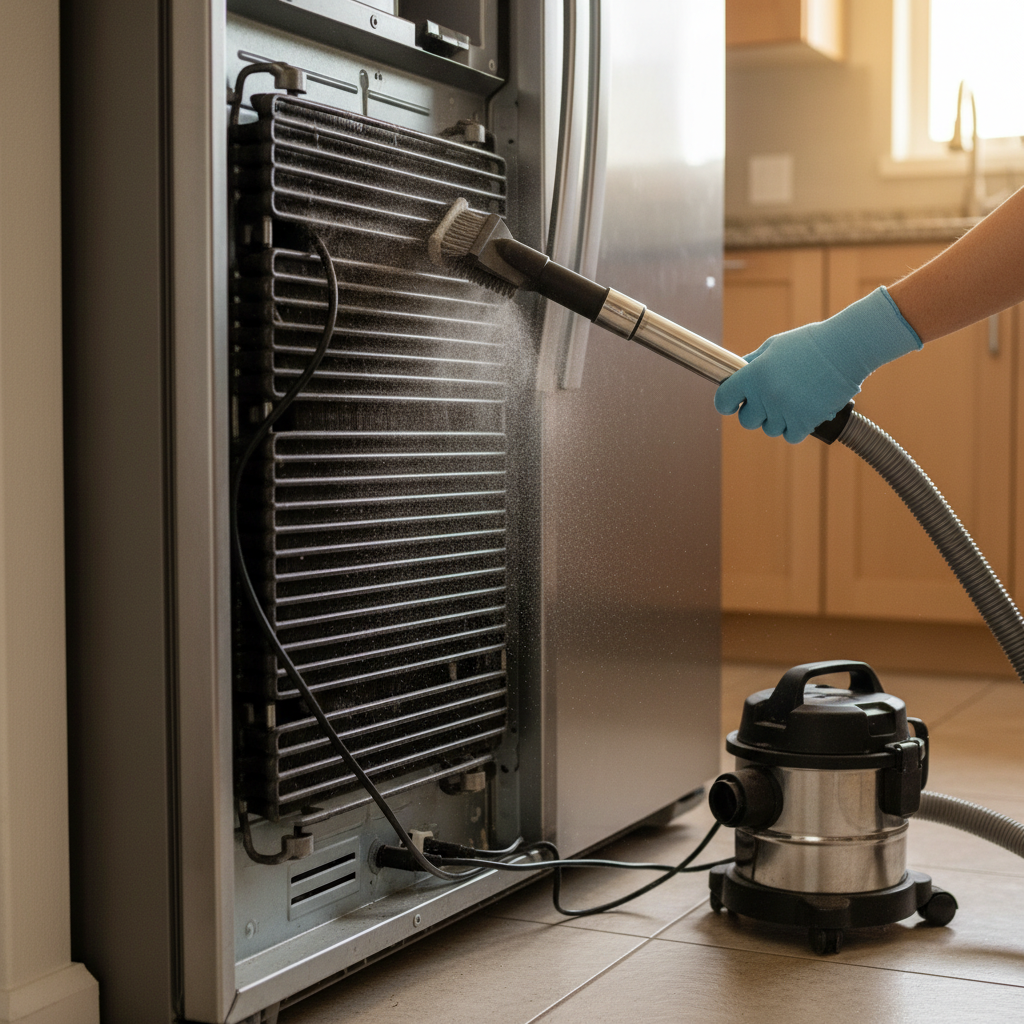
6) Clean Condenser Coils
- Signs of trouble: Dust mats on rear or bottom coils; cabinet sides feel unusually warm.
- Action: Unplug, brush gently, and vacuum. Reconnect and allow 24 hours for temps to stabilize.
- Why: Dirty coils increase energy use and strain the compressor, reducing lifespan.
7) Level the Cabinet
- Target: A slight backward tilt (about 1/8–1/4 inch) so doors self-close.
- Why: A forward lean causes warm air leaks, condensation, and frost patterns near the damper.
- Action: Adjust front feet; recheck door swing and seal contact at multiple points.
We’ve found a quick leveling adjustment often fixes “mystery moisture” under crisper drawers.
8) Evaluate the Ice Maker and Water System
- Clues: Small cubes, slow fill, white flakes, or water tastes off—often a filter or low-pressure issue.
- Action: Replace the water filter every 6 months; ensure the supply valve is fully open and lines aren’t kinked.
- Note: Many brands expect household pressure in a broad range; low pressure leads to hollow cubes and jams.
Customers near the waterfront sometimes see mineral residue; timely filter changes keep ice quality high.
9) Look for Leaks and Condensation
- Under the fridge: A puddle usually means a blocked defrost drain or a cracked drain pan.
- Inside drawers: Water under crispers points to drain/evaporator frost issues.
- Action: Clear visible debris from drain channels with warm, soapy water; never use sharp tools.
Standing water risks flooring damage and mold—address it quickly and safely.
10) Observe Frost Patterns
- Normal: Light, even frost on freezer items.
- Concerning: Thick ice sheets on the back panel—classic defrost heater, thermostat, or control fault.
- Action: Do not chip ice. Power down to thaw fully, then retest for uniform cooling.
Heavy frost can choke airflow to the fridge compartment, creating the “freezer fine, fridge warm” complaint.
11) Run Built-In Diagnostics (If Available)
- Smart panels: Many Samsung, LG, and Whirlpool models expose error codes and sensor tests.
- Action: Check the user manual or your brand’s official support page for your model.
- Why: Codes speed accurate parts selection and increase the chance of a first-visit repair.
Bringing a photo of the code to your appointment helps our techs prep the right components.
12) Decide: DIY Stabilization vs. Professional Repair
- DIY wins: Dirty coils, blocked vents, minor leveling, and gasket cleaning often restore performance.
- Call a pro: Sealed-system faults, repeated short-cycling, electrical smells, persistent warm temps, or recurring leaks.
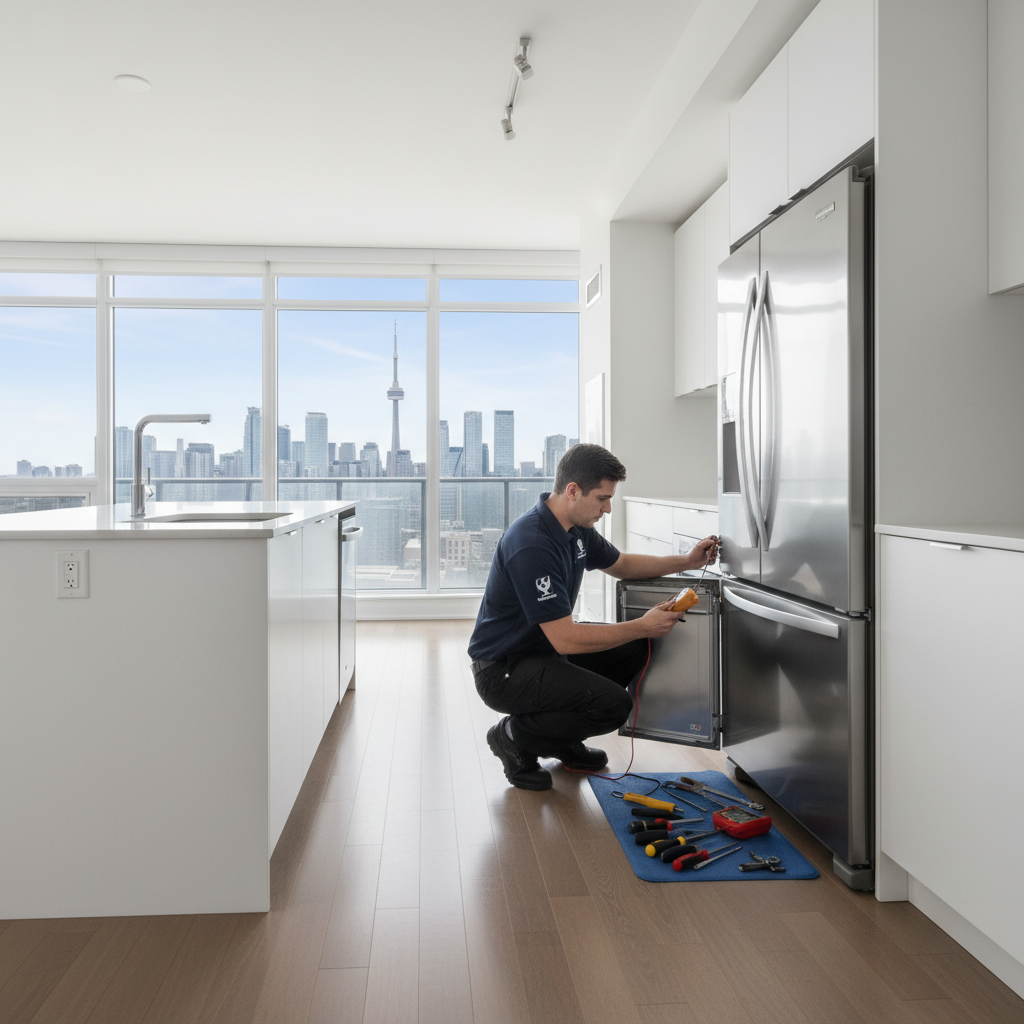
- Service benefit: JK Appliances’ licensed and insured technicians carry common parts and complete 90% of fixes on the first visit—backed by our 180-day warranty.
When in doubt, a quick same-day diagnostic can prevent bigger failures and food loss.
Troubleshooting: Match Symptoms to Causes
Map each symptom to likely causes and the safe checks you can perform. If leaks, frost sheets, grinding noises, or temperature instability persist after basic maintenance, book professional diagnostics to protect the compressor, preserve food safety, and avoid repeated breakdowns.
Common Issues and What to Do
- Fridge warm, freezer okay: Blocked air ducts, failing damper, or sensor drift. Verify vents and temps; then call if unchanged.
- Both sections warm: Dirty coils, failed condenser fan, or low refrigerant. Clean coils first; listen for the fan running smoothly.
- Water on floor: Clogged defrost drain or cracked drain pan. Inspect channels; avoid sharp probes near coils.
- Excess frost/ice sheet: Defrost heater, thermostat, or control failure. Thaw fully; professional service required.
- Loud grinding/rattling: Condenser or evaporator fan obstruction/bearing wear. Isolate the noise and photograph the area.
- Short-cycling clicks: Start relay or compressor protection tripping. Do not keep resetting breakers—book a visit.
- Food spoiling early: Door seal leaks or temperature drift. Run the dollar-bill test and verify 37–40°F.
Quick Comparison Table
| Symptom | Likely Cause | DIY Check | Call a Pro |
|---|---|---|---|
| Runs constantly | Dirty coils, warm room, gasket leak | Clean coils; gasket test; ensure clearance | Compressor or control faults |
| Warm fridge | Blocked vents, bad damper/sensor | Rearrange food; temp check | Damper motor or sensor replacement |
| Leaking water | Clogged drain, cracked pan | Clear debris; inspect pan | Drain heater/repair, pan replacement |
| Heavy frost | Defrost system failure | Defrost and retest | Heater/thermostat/control diagnosis |
| No ice | Filter, valve, low pressure | Replace filter; open valve | Valve/line diagnostics |
Advanced Tips (Optional)
Use data logging, airflow mapping, and targeted part inspections to pinpoint intermittent faults. These advanced checks determine whether instability is environmental or component-driven, guiding an efficient first-visit repair with the right parts on the truck.
- Data log temperature: A simple sensor can record 24–48 hours of readings to catch overnight spikes and door-opening patterns.
- Airflow mapping: Keep vents unobstructed; avoid lining shelves with mats that trap cold and block circulation.
- Filter and valve check: Replace water filters twice a year; confirm a fully open supply valve to the ice maker.
- Firmware/diagnostics: Many brands provide service modes that reveal sensor readings and error histories—snap photos for your tech.
- Safety line: If you smell refrigerant, hear electrical snaps, or see scorch marks, stop and call a licensed technician.
FAQ
Homeowners ask about temps, noise, leaks, lifespan, and when DIY crosses into professional territory. Keep food at 40°F or below, never chip frost with sharp tools, and call a licensed technician for sealed-system or electrical faults.
- How do I know if my fridge is cold enough?
- Place a fridge thermometer in a glass of water on the middle shelf for 8 hours. You want 37–40°F. Freezers should read 0°F. If temps are high, reduce door openings, wait one full cycle, then retest before scheduling service.
- Is it normal for my refrigerator to run all the time?
- Longer cycles are common after restocking or on hot, humid days. If it never cycles off, inspect gaskets, clear vents, and clean coils. Continuous running after basic maintenance suggests a fan, control, or sealed-system issue.
- Why is there water under my crisper drawers?
- This often points to a clogged defrost drain. Warm, soapy water can clear accessible debris, but avoid sharp tools near coils. If water returns quickly, schedule a professional drain and defrost system inspection.
- My freezer is fine but the fridge is warm—what now?
- Cold air may not be moving from the freezer to the fridge due to a blocked duct or failing damper. Rearrange items away from vents, verify temps, and listen for the evaporator fan. Persistent issues require service.
- How long should a refrigerator last?
- Many units run 10–13 years depending on use and maintenance. Cleaning coils, replacing gaskets, and keeping proper clearances extend lifespan. If repairs mount late in life, a professional evaluation can guide next steps.
Additional Resources
Follow food-safety guidance (40°F fridge, 0°F freezer), check your brand’s manual for diagnostic modes, and keep maintenance logs. These resources help you decide when a DIY check is enough and when to book a same-day professional repair.
- Food safety basics: Aim for 37–40°F in the fridge, 0°F in the freezer; verify with a dedicated thermometer.
- Owner’s manual: Many Samsung, LG, Whirlpool, GE, Bosch, Maytag, KitchenAid, and Miele models include test modes and error code charts.
- Maintenance tracker: Log coil cleanings, filter changes, and gasket tests so you can share a clear history with your technician.
Conclusion
If your refrigerator can’t hold 37–40°F, leaks, ices up, or runs loudly without rest, it needs attention. Confirm temps, clean coils, test gaskets, and clear vents. For sealed-system, fan, or control issues, book a licensed technician to protect food and extend appliance life.
- Key Takeaways:
- Temperature and noise changes are your earliest reliable signals.
- Coil cleaning, gasket care, and leveling solve many complaints.
- Sealed-system and electrical faults require a pro—don’t delay.
- JK Appliances offers same-day, warranty-backed repairs across Toronto and the GTA.
Based near 18 Yonge St #3509, our team is ready to help. Book a same-day refrigerator diagnosis and we’ll aim for a first-visit fix—backed by our 180-day parts and labor warranty and 4.9/5 customer rating.