Refrigerator not cooling but light is on refers to a fridge that has power yet can’t drop to safe temperatures due to airflow blockages, dirty condenser coils, a failed evaporator or condenser fan, a stuck defrost system, a faulty start relay, or a weak compressor. Start by checking temps, airflow, coils, and fans.
By JK Appliances | Last updated: 2026-04-14
At a Glance
When a fridge has power but doesn’t cool, verify temperature settings (35–38°F fridge, 0°F freezer), ensure vents are clear, clean dusty condenser coils, confirm fans spin freely, and check door gaskets. If the compressor won’t start or the freezer is warm too, schedule professional refrigerator repair immediately.
- What you’ll learn: Fast diagnostics, step-by-step fixes, and when to call a pro.
- Who it’s for: Toronto & GTA homeowners and condo residents with warm fridges.
- Why it matters: Food safety and energy waste escalate every hour a fridge runs warm.
- Baseline targets: 35–38°F (1.7–3.3°C) refrigerator, 0°F (-18°C) freezer (ENERGY STAR guidance).
- Safety note: Per USDA, discard perishables held above 40°F for over 2 hours.
Quick Answer
If your refrigerator not cooling but light is on at 18 Yonge St #3509, check temps (35–38°F), clear vents, and clean dusty coils first. If fans aren’t running or the compressor won’t start, JK Appliances provides same-day refrigerator repair across Toronto & GTA with a 180-day parts and labor warranty.
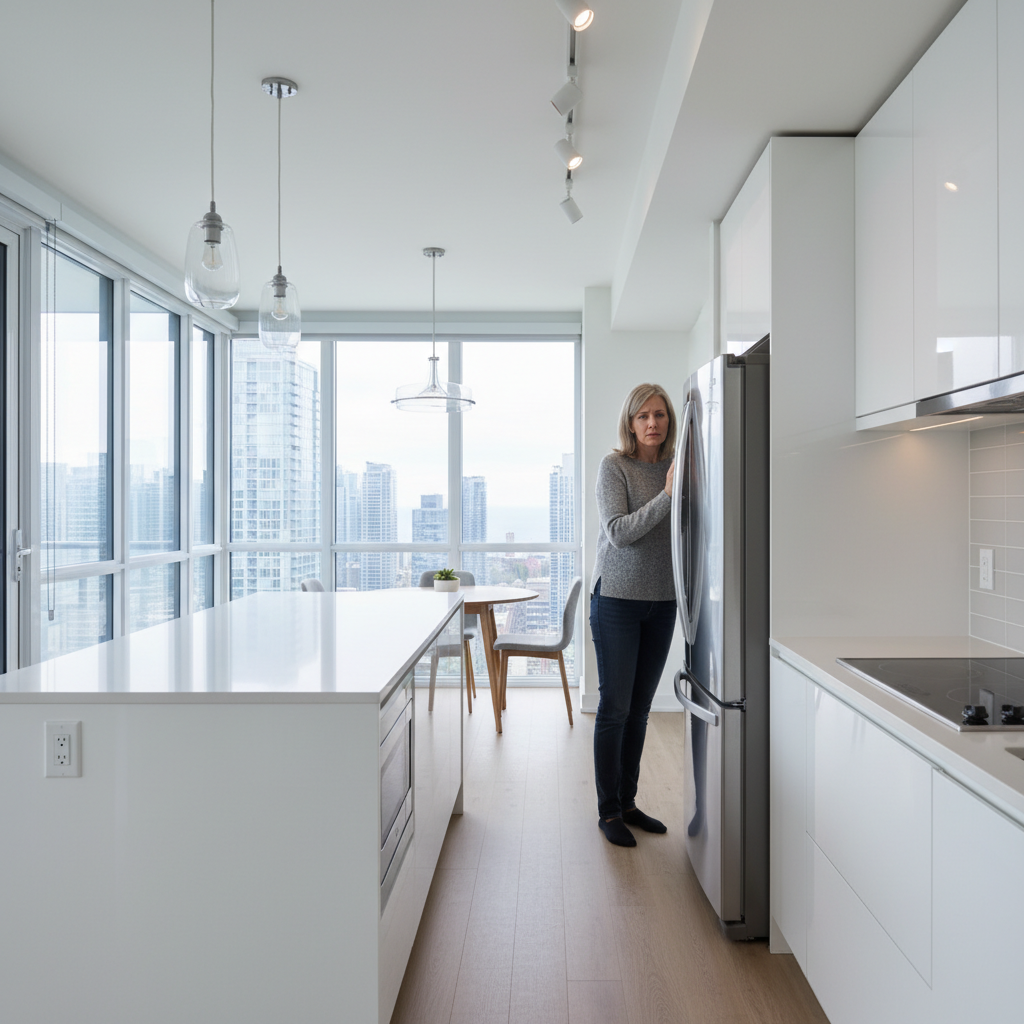
What Is “Refrigerator Not Cooling but Light Is On”?
This issue means the fridge has electrical power but fails to remove heat. Typical culprits are airflow restrictions, dirty condenser coils, failed fans, defrost malfunctions, start relay issues, or a weak compressor. The light proves power, but the sealed cooling process isn’t moving heat out efficiently.
- Plain-English definition: Power is fine; cooling is not. The bulb works, but the system that moves heat from inside the box to the room is impaired.
- Core components involved:
- Thermostat/control board: Tells the system when to cool.
- Compressor + start relay: Pressurizes refrigerant to move heat.
- Condenser coils + fan: Dump heat to room air.
- Evaporator coils + fan: Absorb heat from inside the fridge.
- Defrost system: Clears ice from evaporator for steady airflow.
- Door gaskets/vents: Keep cold air in and air paths open.
- Why the light can be on while cooling fails: The door switch and interior light use a simple circuit; the cooling system is more complex and can fail even though the light indicates power.
- Food safety threshold: USDA guidance: Perishables above 40°F for 2+ hours enter the danger zone. Plan a cooler and ice if repairs take time.
According to ENERGY STAR, a refrigerator set between 35°F and 38°F and a freezer at 0°F maintain safe storage while minimizing energy waste. That’s your target as you diagnose.
Why This Problem Matters (Food, Energy, and Appliance Health)
Warm refrigerators risk foodborne illness, spike electricity use, and can worsen component wear. The best response is quick triage: protect food, perform basic maintenance, and schedule service if cooling doesn’t recover within 4–6 hours of corrective steps.
- Food safety first:
- Time-temp rule: USDA advises discarding perishable food held above 40°F for 2+ hours.
- Prioritize protein and dairy: Move meat, fish, eggs, and milk into a cooler with ice packs.
- Energy impact:
- Dirty condenser coils and blocked vents force longer run times.
- Typical fridges use several hundred kWh/year; inefficiency compounds monthly usage.
- Appliance longevity:
- Running hot increases compressor strain and can accelerate failure.
- Ice-choked evaporators starve airflow; motors overheat, and bearings wear prematurely.
- Toronto & GTA reality check:
- High-rise condos near Union Station and along Yonge can trap kitchen heat; summer humidity amplifies the load.
- Small galley kitchens crowd vents with storage—airflow becomes the first casualty.
Bottom line: move fast. In our experience serving the GTA daily, quick coil cleaning and airflow fixes restore performance in many homes the same day.
How Refrigerator Cooling Works (So You Can Troubleshoot Smarter)
A refrigerator removes heat by evaporating refrigerant in the freezer, moving it via the compressor to the condenser, and expelling heat into the room. Fans keep air moving. Any break—dusty coils, stuck fans, or ice-clogged evaporator—stalls heat removal and leaves contents warm.
- Key stages of the cooling loop:
- Evaporation (cold side): Refrigerant absorbs heat inside the freezer/evaporator.
- Compression: The compressor raises pressure and temperature to move heat.
- Condensation (hot side): Heat is released to room air through condenser coils.
- Expansion: Refrigerant drops pressure again before re-entering evaporator.
- Airflow is everything:
- Vents connect freezer (where most cooling occurs) to the fresh food section.
- One fan pushes air across cold coils; another sheds heat at the condenser.
- Control logic:
- Thermistors sense temperature; the board or thermostat commands the compressor and fans.
- Auto-defrost cycles melt frost so fins don’t clog (commonly every 8–12 hours).
- Manufacturer notes: Support pages from GE Appliances and Samsung emphasize vent clearance, correct setpoints, and coil care because these basics prevent most no-cool callbacks.
Understanding the loop turns guesswork into a targeted plan: preserve airflow, keep coils clean, and verify fans and the compressor engage when they should.
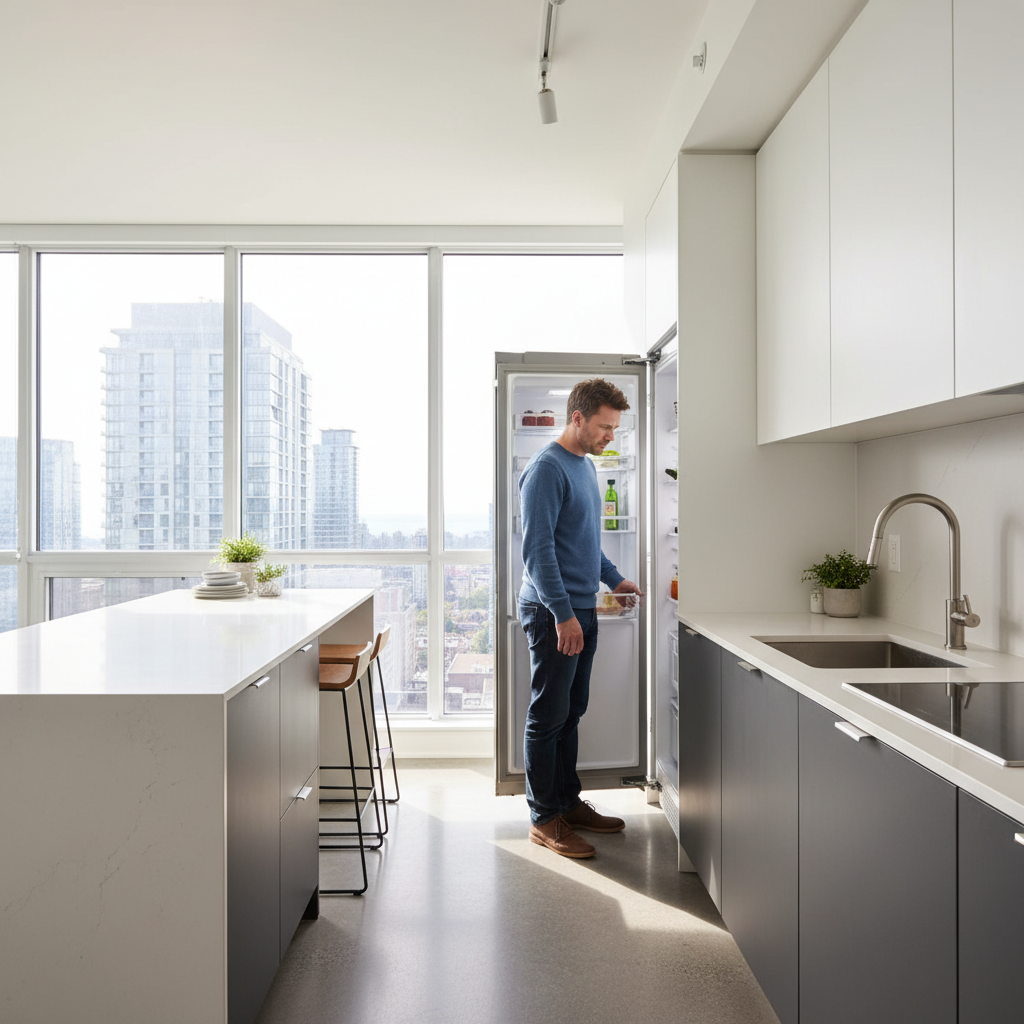
Step-by-Step: Fix a Fridge with Power but No Cooling
Start with non-invasive checks: temperature, door seals, vent clearance, and coil cleaning. Then confirm fans spin and the compressor starts. If the freezer stays warm or the compressor only clicks, call a certified technician—further diagnosis involves live-voltage and sealed-system testing.
0. Protect Your Food (Immediate)
- Thermometer check: Place an appliance thermometer mid-shelf. If above 40°F, move perishables to a cooler with ice.
- USDA rule of 2 hours: Discard high-risk items if they’ve sat above 40°F for 2+ hours.
- Door discipline: Minimize openings to preserve residual cold.
1. Confirm Settings and Power
- Setpoints: Adjust to 35–38°F (fridge) and 0°F (freezer). ENERGY STAR cites this range for safety and efficiency.
- Power integrity: Verify the fridge is on a dedicated outlet; avoid power strips.
- Control lockouts: Some models have demo/sabbath modes—exit those per the manual.
2. Restore Airflow
- Clear vents: Leave 2–3 inches of space around internal vents so cold air can move.
- Reorganize shelves: Avoid wall-to-wall containers; leave gaps for circulation.
- Inspect gaskets: A dollar-bill test should hold snugly around the door. Replace torn or hardened seals.
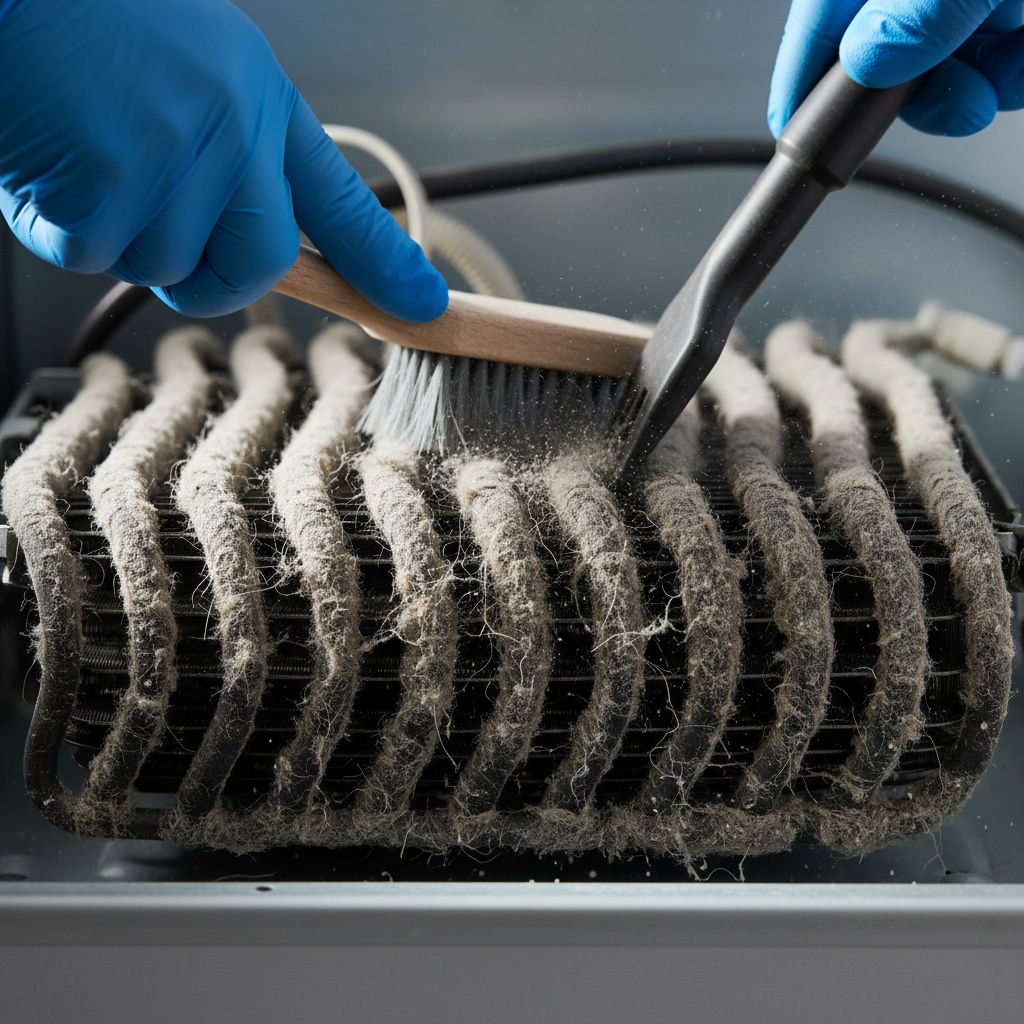
3. Clean the Condenser Coils (10–15 minutes)
- Unplug the fridge: Safety first.
- Access location: Coils are behind a toe-kick (front-bottom) or at the rear.
- Vacuum + brush: Remove lint and pet hair thoroughly. Reinstall any covers.
- Result to expect: Better heat shedding; many fridges recover within a few hours if coils were choked.
4. Verify Fans
- Condenser fan (bottom/back): Should spin when the compressor runs. If seized or noisy, it needs service.
- Evaporator fan (freezer): Should run with the door switch held closed. A silent fan points to failure or heavy frost.
- Noise clues: Clicking without spin suggests a stuck motor; grinding often signals worn bearings.
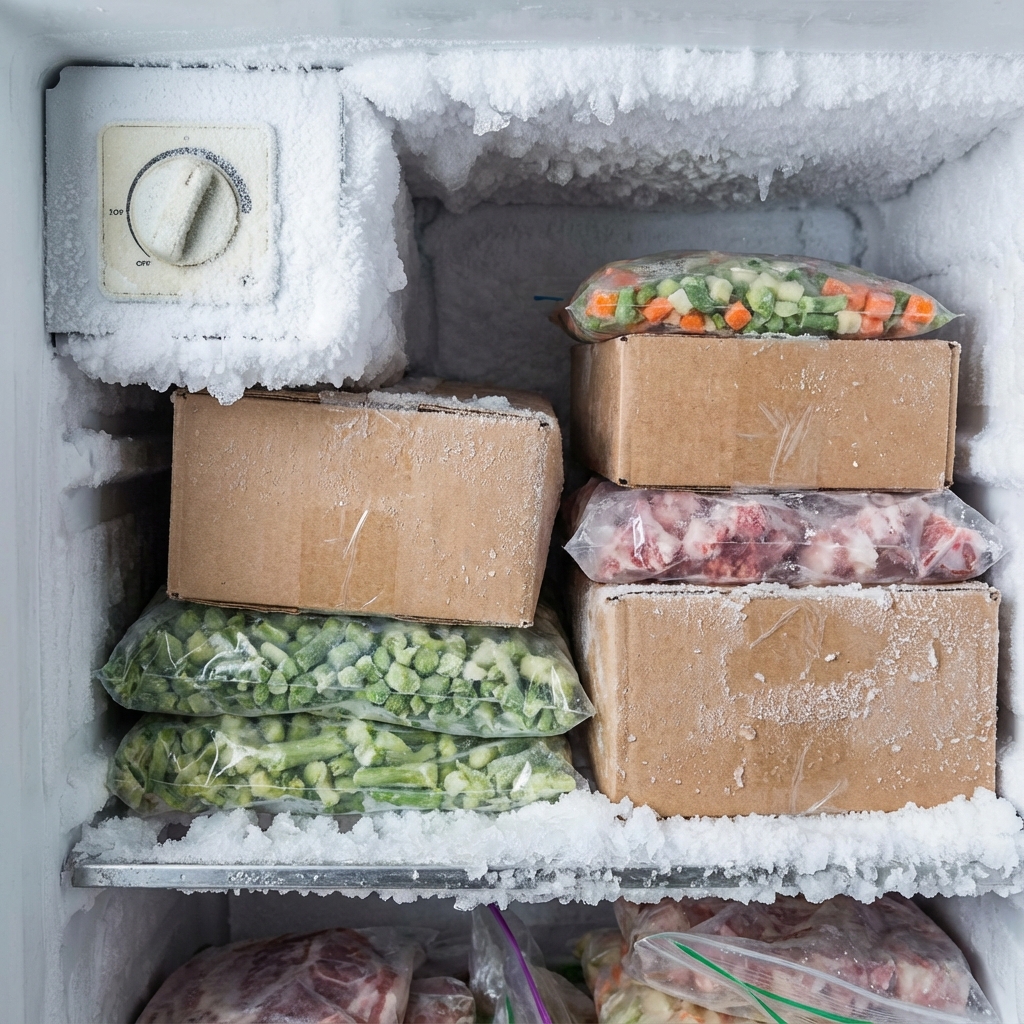
5. Check for Frost and Defrost Faults
- Frost blanket on back freezer wall: Indicates defrost failure (heater, thermostat, or control).
- Manual defrost test: Power off 12–24 hours with doors open and towels down. If cooling returns briefly, schedule defrost-system repair.
- Ice behind bins: Also suggests airflow blockage needing attention.
6. Listen for the Compressor and Relay
- Normal behavior: A steady hum and warm compressor casing.
- Click–click pattern: Often a failed start relay or a locked/weak compressor drawing high current.
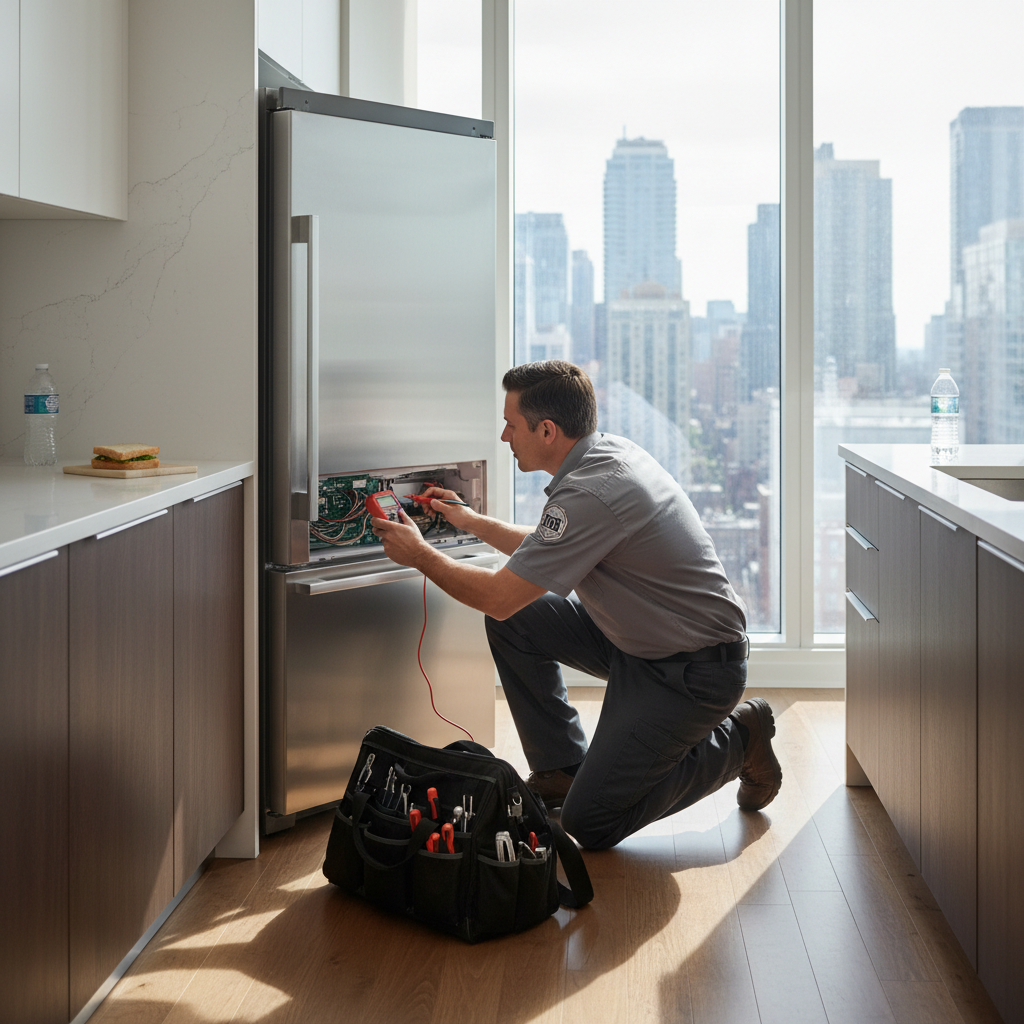
- When to call: Live-voltage and amperage tests belong to certified pros—don’t risk a shock.
7. Decide: DIY vs. Professional Service
- DIY-friendly: Settings, door seals, vent clearance, coil cleaning, and basic fan observation.
- Pro-only: Start relays, control boards, sealed-system components (compressor, drier, refrigerant charge), and verified defrost failures.
- Service benefit: JK Appliances backs repairs with a 180-day parts and labor warranty and a 90% first-visit fix rate across Toronto & GTA.
Common Causes and Fast Diagnostics
Most “light on, no cooling” cases trace to airflow and heat-rejection problems. Clear vents, clean condenser coils, and confirm both fans spin. If temperatures don’t drop below 40°F within 4–6 hours, the fault likely involves the defrost system, start relay, or sealed system—book service.
- Airflow blocked by food or bags: Reorganize; target 2–3 inches of clearance at vents.
- Dirty condenser coils: Vacuum/brush thoroughly; expect faster recovery and shorter run times.
- Failed condenser fan: Warm cabinet base and silent fan—professional replacement required.
- Evaporator fan failure: Freezer not cold, no air movement—pro diagnosis needed.
- Defrost malfunction: Frost blanket on freezer wall—repair heater/thermostat/control.
- Start relay fault: Compressor clicks but doesn’t start—replace relay after testing.
- Weak/locked compressor: Requires sealed-system expertise; do not DIY.
- Control issues: Demo mode or sensor faults—verify via service diagnostics.
DIY vs. Pro Responsibilities (Quick Table)
| Symptom | Likely Cause | DIY Action | Pro Fix |
|---|---|---|---|
| Light on, fridge warm | Blocked vents, coils dusty | Reorganize, clean coils | — |
| Clicking, no cooling | Start relay/compressor | — | Relay test/replace; sealed-system eval |
| Frost on back wall | Defrost failure | Manual defrost 12–24h | Diagnose heater/thermostat/control |
| Warm cabinet base | Condenser fan not running | Inspect for debris | Replace faulty fan motor |
| No air movement inside | Evaporator fan not running | Hold door switch, listen | Replace fan; check frost |
Best Practices to Prevent Repeat Failures
Keep condenser coils clean every 6 months, maintain 35–38°F and 0°F setpoints, leave vent clearance, and replace worn gaskets. These simple habits reduce strain, protect food safety, and extend compressor life—especially in compact Toronto condo kitchens where heat builds quickly.
- Maintenance cadence:
- Coil cleaning: every 6 months (quarterly with pets or construction dust).
- Gasket inspection: quarterly—clean with mild soap and warm water.
- Leveling check: keep the fridge level so doors seal properly.
- Food loading habits:
- Aim for 75–85% fullness to stabilize temperatures without choking airflow.
- Don’t push items tight against the rear wall or ceiling baffles.
- Temperature discipline:
- ENERGY STAR recommends 35–38°F for the fresh food section and 0°F for the freezer.
- Use an appliance thermometer; electronics can drift over time.
- Environment control:
- Leave 1–2 inches of clearance at the back and sides for heat rejection.
- Avoid placing ovens or portable heaters beside the fridge.
- Defrost awareness:
- Persistent frost = failing defrost system. Early service saves food and parts.
Tools and Resources for Fast DIY Triage
A basic kit—appliance thermometer, coil brush, vacuum, flashlight, and mild cleaner—solves many no-cool complaints. When motors won’t run or frost blankets the freezer wall, professional diagnostics are required to avoid electrical and sealed-system hazards.
- Handy at home:
- Appliance thermometer (digital or analog)
- Soft coil brush + vacuum with crevice tool
- Flashlight and basic screwdriver set
- Non-scratch cloths and mild dish soap for gaskets
- When to escalate:
- Fans silent, compressor clicking, or frost blanket visible
- Control panel errors recurring after resets
- Burning smells, tripped breakers, or water leaks
- What you get with JK Appliances:
- Same-day refrigerator repair throughout Toronto & GTA
- Licensed, insured, TSSA-certified technicians
- 90% first-visit fix rate and 180-day parts and labor warranty
- Brand-agnostic expertise: Samsung, LG, Whirlpool, GE, Bosch, Maytag, KitchenAid, Electrolux, Miele, Frigidaire
Need a hand today?
Stuck above 40°F after cleaning coils and clearing vents? Our Toronto-based team can be at your door the same day in most neighborhoods. We back our work with a 180-day parts and labor warranty—so you can restock the fridge with confidence.
Mini Case Studies from Toronto & GTA Homes
Real-world fixes often start with airflow and end with targeted part replacement. In our Toronto condos and GTA homes, coil cleaning and fan checks resolve many calls the same day. Persistent warm temps usually point to defrost, relay, or compressor issues.
- South Core condo near 18 Yonge:
- Symptom: Fridge 46°F, light on, food spoiling.
- Finding: Toe-kick clogged with lint and pet hair; condenser fan running hot.
- Fix: Deep coil clean; temps down to 37°F within 3 hours; advised semiannual maintenance.
- Family home in Mississauga:
- Symptom: Clicking every 60 seconds, no cooling at all.
- Finding: Failed start relay on the compressor.
- Fix: Relay replacement after electrical testing; restored normal cycling and stable temps.
- Townhome in Markham:
- Symptom: Frost on back freezer wall; fridge warm at 45°F.
- Finding: Defrost heater open-circuit; evaporator choked with ice.
- Fix: Safely defrosted and replaced heater; confirmed thermostat operation via diagnostics.
- Condo in Vaughan:
- Symptom: No interior airflow; door switch OK.
- Finding: Evaporator fan motor seized.
- Fix: Motor replacement; rechecked temps after 4 hours—fridge at 36°F, freezer at 0°F.
- Brampton detached home:
- Symptom: Freezer cold, fridge warm—classic vent blockage.
- Finding: Return duct packed with bread bags and containers.
- Fix: Airflow restored via reorganization; educated owner on 2–3 inch vent clearance.
In our field notes across 10,000+ GTA service calls, the fastest wins come from airflow fixes and coil cleaning. When those fail, diagnostics shift to electrical and defrost systems—areas where professional tools save time and food.
Local Tips
Local Tips
- Tip 1: In high-rise units near 18 Yonge St #3509, leave extra rear clearance—built-in cabinets trap heat. Pull the toe-kick and vacuum coils every 6 months to prevent warm-fridge surprises.
- Tip 2: During humid Toronto summers, set your fridge to 36–37°F and avoid long door-open times after grocery runs; warm, moist air loads the system quickly.
- Tip 3: Hosting near the waterfront or Union Station? If your oven’s running for hours, expect higher kitchen temps—keep 2–3 inches of vent clearance inside the fridge to maintain airflow.
IMPORTANT: These tips reflect how we service Toronto condos and family homes daily. If temps don’t drop below 40°F after basic steps, book same-day service.
FAQ: Refrigerator Has Power but Won’t Cool
If the light works but temperatures stay high, fix airflow first, then clean coils and confirm fans. Persistent warming or compressor clicking means electrical or sealed-system faults—schedule service to protect food and avoid further damage.
- How do I know if it’s the start relay or compressor?
Consistent clicking and a hot compressor shell often indicate a failed start relay or a hard-starting compressor. A technician will test current draw and relay function safely. Because this involves live voltage, call a certified pro rather than attempting DIY replacement.
- What temperature should I set?
Aim for 35–38°F for the fresh food section and 0°F for the freezer. ENERGY STAR promotes this range to balance food safety and efficiency. Use an appliance thermometer on a middle shelf; don’t rely only on digital readouts.
- Why is my freezer cold but fridge warm?
This points to airflow trouble between compartments—blocked vents, a failed evaporator fan, or frost-choked coils from a bad defrost system. Clear vents first; if the fan is silent with the door switch pressed, schedule service.
- How long after cleaning coils should cooling return?
You should see improvement within 4–6 hours if coils were the problem. If the interior remains above 40°F after that window, the fault is likely a fan, relay, defrost, or sealed-system issue requiring professional diagnostics.
- Is manual defrosting safe for my fridge?
Yes—power off, open doors, and place towels to absorb meltwater. Give it 12–24 hours. If cooling returns but fades again within days, the defrost system needs repair (heater, thermostat, or control).
Key Takeaways
Fix the easy stuff first: settings, vents, coils, and fans. If the freezer won’t get to 0°F or the compressor only clicks, call a pro. Protect food at 40°F+, and remember—consistent maintenance prevents most no-cool calls in Toronto homes.
- “Light on, no cooling” usually means airflow or heat rejection trouble.
- Targets: 35–38°F fridge, 0°F freezer; above 40°F for 2+ hours risks food safety (USDA).
- Coil cleaning and vent clearance solve many issues within hours.
- Clicking compressors, frost blankets, and silent fans need professional service.
- JK Appliances offers same-day help across Toronto & the GTA with a 180-day warranty.
Ready When You Need Us
If your fridge won’t cool after basic steps, our licensed, insured, TSSA-certified team can diagnose and repair it the same day in most Toronto neighborhoods. We service all major brands and back repairs with a 180-day parts and labor warranty.
We serve homeowners and condo residents across Toronto, Mississauga, Brampton, Vaughan, Richmond Hill, and Markham—with a 90% first-visit fix rate that gets life back to normal fast.
Book same-day refrigerator repair in Toronto so dinner plans stay on track. Prefer texting? Call the number on our site and request SMS—our dispatcher responds quickly.
Service areas: Toronto & GTA • Same-day availability • 24/7 for emergencies • 180-day parts and labor warranty • Award-winning local team