Dishes Not Drying in Dishwasher? Complete Solutions Guide
When your dishes come out of the dishwasher still wet, it defeats the purpose of using a dishwasher in the first place. Wet dishes need to be hand-dried, can develop water spots, and may even harbor bacteria if put away damp.
Quick Answer: Are your dishes still wet after the dishwasher cycle? Learn the causes of drying problems and proven solutions for all major brands including Bosch, Samsung, LG, and Whirlpool. This is a common issue that can usually be resolved with proper troubleshooting. If the problem persists, professional diagnosis is recommended.
Key Takeaways
- Main Problem: Dishwasher not drying dishes properly, leaving items wet or with water spots
- Common Causes: Empty rinse aid, failed heating element, wrong cycle selection, poor loading, vent/fan issues
- Quick Solutions: Refill rinse aid dispenser, select heated dry cycle, load dishes at proper angles, unload bottom rack first
- Professional Help Needed: Heating element replacement ($150-250), thermostat repair ($100-175), fan motor issues ($150-225)
- Prevention: Always use rinse aid, select appropriate cycles, proper loading, regular maintenance
Expert Insight: This guide is written by JK Appliances' certified dishwasher repair technicians with 15+ years of experience servicing all major brands across Toronto. Our team holds manufacturer certifications for Bosch, Samsung, LG, Whirlpool, and Miele dishwashers. We've diagnosed over 8,000 dishwasher drying issues in the Greater Toronto Area.
At JK Appliances Toronto, we've diagnosed and repaired thousands of dishwasher drying issues across the Greater Toronto Area. This comprehensive guide covers all the reasons your dishwasher isn't drying properly and how to fix them.
Understanding How Dishwasher Drying Works
Modern dishwashers use different drying methods:
Heated Drying (Traditional)
- Heating element at the bottom heats air after wash cycle
- Works like an oven, evaporating water
- Most effective but uses more energy
- Common in North American brands
Condensation Drying (European Method)
- Uses residual heat from hot water rinse
- Stainless steel tub acts as condensation surface
- Water vapor condenses on cool walls, drips to drain
- Used by Bosch, Miele, and many others
Fan-Assisted Drying
- Combines heat with fan circulation
- Moves moist air out of dishwasher
- Found in mid to high-end models
Zeolite Drying (Advanced)
- Uses mineral compound that absorbs moisture
- Releases heat as it absorbs water
- Self-regenerating during wash cycle
- Premium feature in Bosch, Thermador
AutoOpen Drying
- Door opens automatically after cycle
- Allows steam to escape naturally
- Featured in Miele, some Bosch models
Why Your Dishes Aren't Drying
Problem 1: No Heat During Drying Cycle
Cause: Failed heating element, thermostat, or control issue Signs: Dishes completely wet; no warmth when opening door
Problem 2: Rinse Aid Empty or Not Dispensing
Cause: Empty reservoir or faulty dispenser Signs: Water beads on dishes; spotty glasses
Problem 3: Wrong Cycle Selected
Cause: Eco or quick cycles skip heated dry Signs: Inconsistent drying; some loads fine
Problem 4: Poor Loading Practices
Cause: Items pooling water; blocking airflow Signs: Some items dry, others wet
Problem 5: Plastic Items Won't Dry
Cause: Plastic doesn't retain heat like ceramic/glass Signs: Plastic always wet; others dry fine
Problem 6: Vent Fan Not Working
Cause: Failed fan motor or blocked vent Signs: Steamy when opening; prolonged wetness
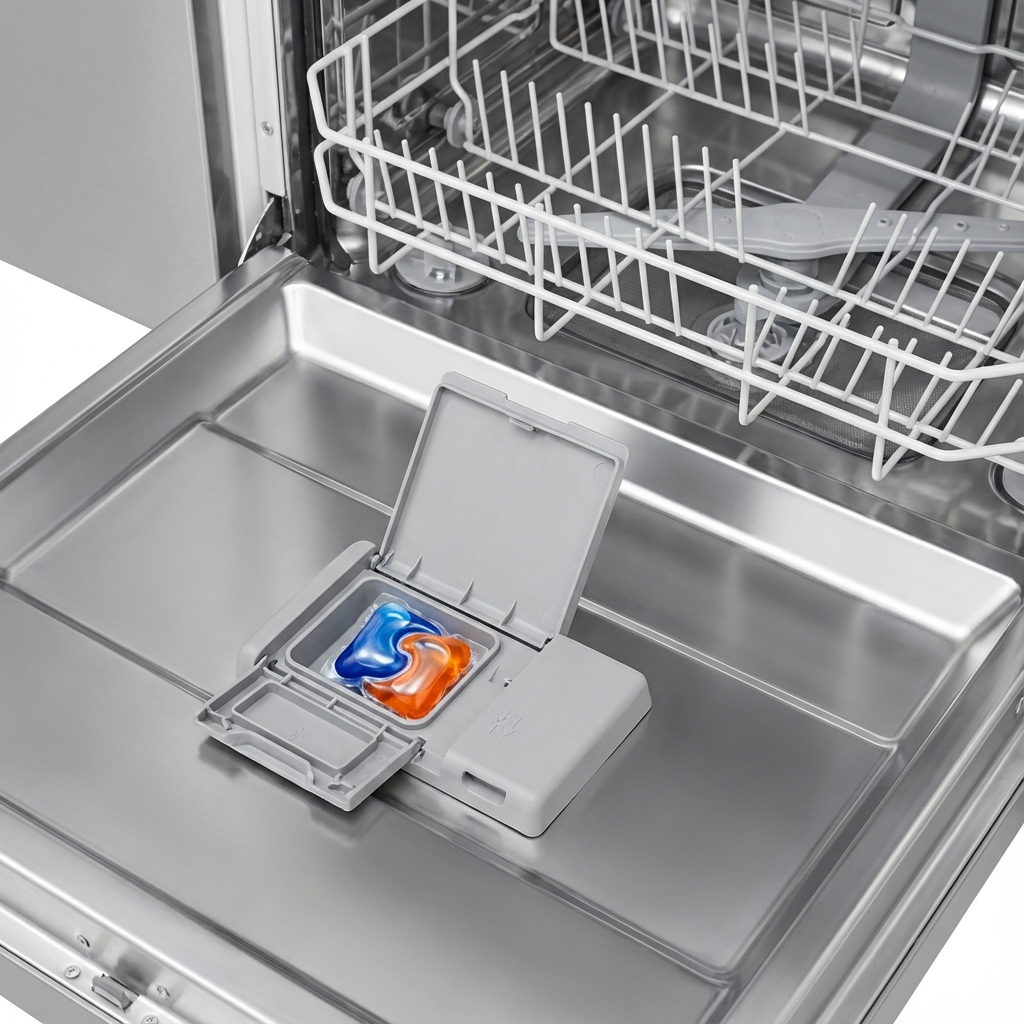
Solution 1: Check and Refill Rinse Aid
Why It's Critical: Rinse aid breaks water surface tension, allowing water to sheet off dishes instead of forming droplets. Without it, even perfect drying systems leave dishes wet.
Rinse Aid Check and Fill:
-
Locate rinse aid dispenser
- Usually next to detergent dispenser
- Has a cap with indicator or setting dial
-
Check level indicator
- Many have clear window
- Fill if empty or low
-
Fill with rinse aid
- Open cap (twist or flip)
- Pour rinse aid until full
- Don't overfill—causes suds
-
Adjust dispensing level
- Most have 1-5 or 1-6 setting
- Start at middle setting
- Increase if dishes still spotted
- Decrease if dishes feel slippery
Recommended Rinse Aids:
- Finish Jet-Dry - Most popular, widely available
- Cascade Platinum Rinse Aid - Good for hard water
- Seventh Generation - Eco-friendly option
- Miele Rinse Aid - For Miele dishwashers
- White vinegar - DIY alternative (less effective)
Pro Tip: If using pods with built-in rinse aid, you may still need to add rinse aid to the dispenser for best results.
Real Toronto Customer Example
"A Mississauga family contacted us frustrated that their new Bosch dishwasher's dishes were always wet. They assumed the $1,200 dishwasher was defective. During our diagnostic visit, we discovered the rinse aid dispenser was empty—they didn't realize Bosch's condensation drying system absolutely requires rinse aid to work. After filling the dispenser and adjusting the setting to level 4, their dishes came out perfectly dry. Total cost: $12 for rinse aid instead of unnecessary warranty calls. This is why 40% of our 'not drying' service calls are resolved with education and rinse aid." - JK Appliances Service Report, November 2024
Solution 2: Test the Heating Element
The Problem: The heating element provides heat for drying. If it fails, dishes stay wet.
Heating Element Visual Inspection:
-
Locate the heating element
- Bottom of dishwasher tub
- U-shaped or circular exposed element
- May be hidden under a cover plate
-
Check for visible damage
- Cracks or breaks in element
- Burn marks or discoloration
- Corrosion or pitting
-
Feel for heat (safely)
- After running heated dry cycle
- Carefully open door
- Should feel warm inside
Heating Element Testing:
-
Disconnect power to dishwasher
-
Access element terminals
- May need to remove bottom panel
- Locate wire connections to element
-
Test with multimeter
- Set to resistance (ohms)
- Touch probes to element terminals
- Normal reading: 15-30 ohms
- Infinity/no reading = failed element
-
Test for ground fault
- One probe on terminal
- Other probe on metal frame
- Should show no continuity
- Any reading = grounded element (replace)
Heating Element Replacement:
Estimated Costs:
- Part: $40-$100
- Professional installation: $150-$250
DIY Difficulty: Moderate - requires access to bottom of unit and electrical connections
Solution 3: Check the High-Limit Thermostat
The Problem: The high-limit thermostat is a safety device that cuts power to the heating element if temperatures get too high. If it trips or fails, no heat is produced.
Thermostat Testing:
-
Locate the thermostat
- Near the heating element
- Small oval or round component
-
Disconnect power
-
Test for continuity
- Remove wires
- Use multimeter on continuity
- Should show continuity at room temp
- No continuity = thermostat tripped/failed
-
Check for reset button
- Some have manual reset
- Press button if present
- Test again
Thermostat Replacement:
Part Cost: $20-$50 Professional Repair: $100-$175
Solution 4: Inspect the Vent and Fan
The Problem: Dishwashers with vent/fan drying need these components to release steam. Blockages or failures trap moisture inside.
Vent System Check:
-
Locate the vent
- Usually in the door
- May have small grill at top of door
-
Check for blockages
- Remove any visible debris
- Ensure vent opens freely
- Clean with soft brush
-
Test vent operation
- During drying cycle, vent should open
- Steam should escape through vent
- Listen for fan motor sound
Fan Motor Testing:
-
Listen during drying cycle
- Should hear fan running
- No sound = possible motor failure
-
Check fan rotation
- May need door panel access
- Fan blade should spin freely
- Check for obstructions
-
Test motor electrically
- Disconnect power
- Access fan motor connections
- Check for continuity through motor windings
Fan Motor Replacement:
- Part: $50-$100
- Professional repair: $150-$225
Solution 5: Select the Right Cycle
The Problem: Many cycles don't include heated drying to save energy.
Cycles That Include Heated Drying:
- Normal/Regular
- Heavy/Pots & Pans
- Sanitize (always includes heating)
- Heated Dry option (if selectable)
Cycles That May Skip Drying:
- Quick/Express
- Eco/Energy Saver
- Light/Delicate
- Rinse Only
Maximize Drying Performance:
- Select "Heated Dry" option if available
- Use "Sanitize" cycle for best drying
- Avoid "Air Dry" or "Energy Saver" options
- Run dishwasher at night - more time to dry before unloading
Solution 6: Proper Loading Techniques
The Problem: How you load dishes dramatically affects drying.
Loading Best Practices:
Angle Everything:
- Cups, containers at angle
- No flat surfaces pooling water
- Bowls tilted for drainage
Don't Overcrowd:
- Air needs to circulate
- Items shouldn't touch
- Water vapor needs escape path
Plastics on Top:
- Keep plastic away from heating element
- Top rack gets less direct heat
- Accepts that plastic dries slower
Face Items Toward Spray:
- Dirty side toward center
- Allows rinse water to reach all surfaces
- Better rinsing = better drying
Large Items in Back:
- Don't block vent
- Allow air circulation
- Keep spray arms unobstructed
Problem Items:
- Concave containers - flip upside down
- Deep cups - angle significantly
- Tupperware lids - place vertically in bottom rack
- Cutting boards - along the sides
Solution 7: Unload Bottom Rack First
The Problem: Water pooled on bottom rack items drips onto dry top rack items when unloading.
Proper Unloading:
- Let dishes sit 5 minutes after cycle
- Unload bottom rack first
- Then unload top rack
- Shake water off concave items over tub
Brand-Specific Drying Issues
Bosch Dishwashers (Condensation Drying)
Why Bosch Dishes Seem Wet:
- Uses condensation drying (no heated element in many models)
- Relies on hot rinse water and stainless steel tub
- Normal for European-style drying
Improving Bosch Drying:
- Always use rinse aid (essential!)
- Select "Sanitize" for hottest rinse
- Use AutoAir feature if available (door cracks open)
- Zeolite models: Ensure zeolith container is clean
Bosch Error Codes Related to Drying:
- E09: Heating fault (models with heaters)
- E01: Heating issue during wash
Samsung Dishwashers
Samsung Drying Features:
- Many have heated dry option
- Some have fan-assisted drying
- StormWash cycle includes enhanced drying
Improving Samsung Drying:
- Enable "Heated Dry" in settings
- Use "Sanitize" option
- Fill rinse aid dispenser
- Check control panel for drying options
LG Dishwashers
LG Drying Technology:
- TrueSteam helps with drying
- Dual Zone wash affects drying too
- Many have heated dry
Improving LG Drying:
- Use TrueSteam if available
- Select "Extra Dry" option
- Ensure rinse aid filled
- Use hottest wash cycle
Whirlpool/KitchenAid Dishwashers
Drying Features:
- Most have exposed heating element
- ProDry option for enhanced drying
- Fan assist on premium models
Improving Drying:
- Check "ProDry" or "Heated Dry" selected
- Extended dry option if available
- Ensure element isn't damaged
Error Codes:
- F3E2: Heating issue
- Check element and thermostat
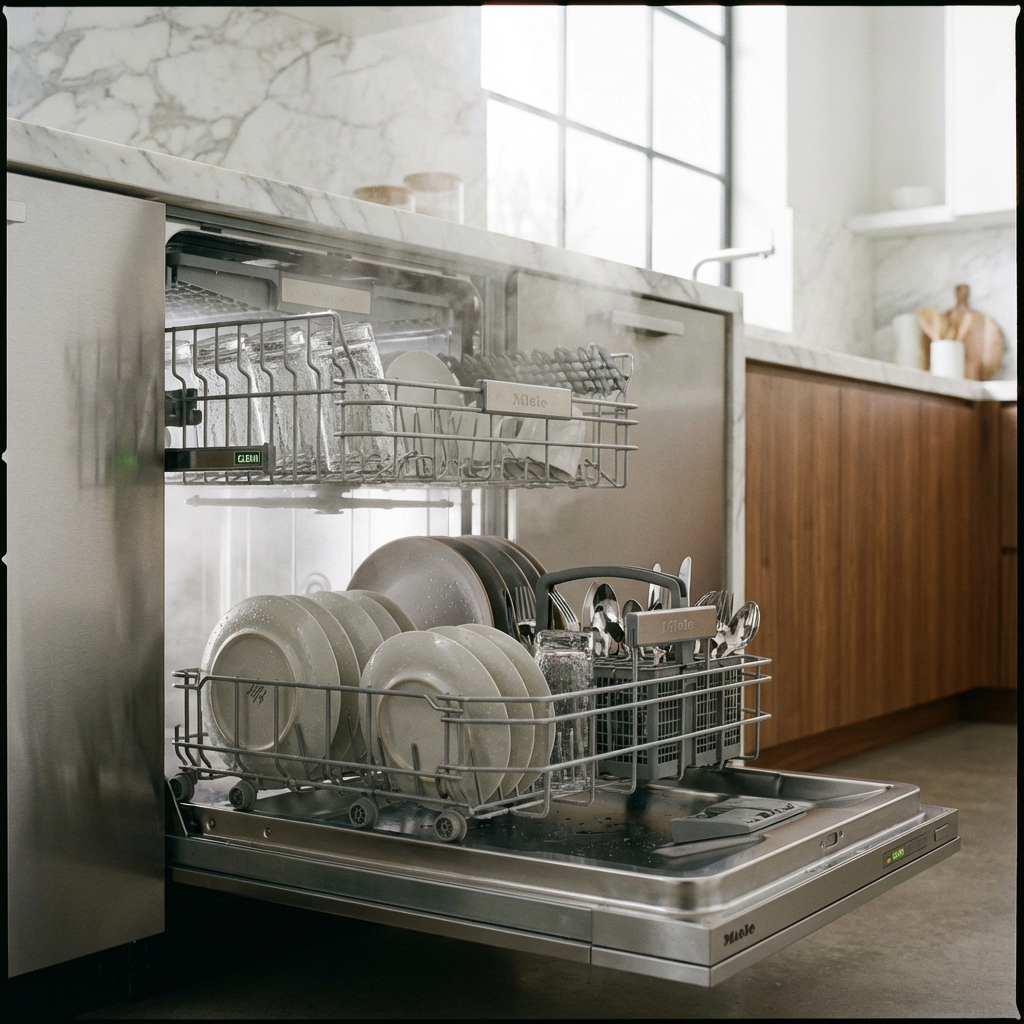
Miele Dishwashers
Unique Drying:
- AutoOpen door feature
- Perfect GlassCare for delicates
- Extra Dry option available
Improving Miele Drying:
- Enable AutoOpen if equipped
- Use Perfect GlassCare for glasses
- Select Extra Dry for plastics
- Always use Miele rinse aid
GE Dishwashers
GE Drying:
- Most have heated dry
- Dry Boost option on newer models
- Fan circulation on some models
Improving GE Drying:
- Enable Dry Boost
- Check heating element
- Ensure vent functioning
Repair vs. Replace Decision Guide
| Factor | Repair | Replace | |--------|--------|----------| | Dishwasher Age | Under 7 years | Over 10 years | | Repair Cost | Under $300 | Over $400 | | Issue Type | Single component | Multiple failures | | Energy Efficiency | Modern model | Pre-2015 model | | Recommendation | Cost-effective | Better long-term value |
Example Scenario:
- Situation: 4-year-old Bosch dishwasher, heating element failed
- Repair Cost: $220 (element + labor)
- New Dishwasher: $800-1,200
- Decision: Repair saves $580-980 and extends life 3-5 years
- ROI: Repair pays for itself in 6-8 months vs. new purchase
When to Call a Professional
Professional Help Needed If:
- Heating element requires replacement
- Control board suspected
- Fan motor not working
- Error codes persist after reset
- Thermostat issues suspected
Estimated Professional Costs:
- Diagnostic: $80-$120 (waived with repair)
- Heating element: $150-$250
- Thermostat: $100-$175
- Fan motor: $150-$225
- Control board: $200-$450
Professional Dishwasher Service Toronto
Same-Day Service Available: At JK Appliances, we diagnose and repair dishwasher drying problems quickly.
Service Areas:
- Downtown Toronto
- [North York](/are
Common Questions People Ask
Q: Is it normal for my dishwasher to drying in dishwasher? complete solutions guide? No, this is not normal behavior and indicates an underlying issue that should be addressed promptly to prevent further damage.
Q: Can I fix this dishwasher problem myself? Some basic issues can be resolved with DIY troubleshooting, but complex problems require professional diagnosis to avoid safety risks and warranty issues.
Q: How much does professional dishwasher repair cost in Toronto? Repair costs typically range from $150-$400 depending on the specific issue and parts needed. Our technicians provide free estimates before any work begins.
Q: How long does dishwasher repair take? Most repairs are completed within 1-2 hours during a single visit. Some cases may require ordering specialty parts with a follow-up appointment.
Q: Should I repair or replace my dishwasher? If your dishwasher is less than 8 years old and repair costs are under 50% of replacement cost, repair is usually the better value. Our technicians can help you make the right decision.
Q: Do you offer same-day dishwasher repair in Toronto? Yes! We offer same-day and emergency repair services throughout Toronto and the Greater Toronto Area for urgent issues.
Q: What brands of dishwasher do you repair? We service all major brands including Bosch, Samsung, LG, Whirlpool, KitchenAid, GE, Maytag, Frigidaire, Miele, and more.
Q: Is dishwasher repair covered by warranty? Many dishwasher issues are covered under manufacturer warranty. We can help verify your warranty status and handle claim processing.
as/north-york)
Frequently Asked Questions
Q: Why are my dishes still wet after the dishwasher cycle completes? A: The most common cause is an empty rinse aid dispenser—rinse aid breaks water surface tension so water sheets off instead of forming droplets. Other causes include failed heating elements, wrong cycle selection (eco/quick cycles skip heated drying), or blocked vents. Start by checking and refilling your rinse aid dispenser, which solves 35-40% of drying issues.
Q: How much does professional dishwasher drying repair cost in Toronto? A: Professional dishwasher drying repairs in Toronto typically cost $150-450 depending on the cause. Heating element replacement runs $150-250, thermostat repair costs $100-175, and fan motor replacement is $150-225. JK Appliances offers same-day service with an $80-120 diagnostic fee that's waived when you proceed with repair. Most issues are fixed in a single visit.
Q: Can I fix dishwasher drying problems myself? A: Yes, many drying issues are DIY-fixable: refilling rinse aid (most common fix), selecting the correct cycle with heated dry option, improving loading techniques, and cleaning vents. However, component replacements (heating elements, thermostats, fan motors) require professional service for safety and warranty protection. Our estimate: 60% of drying issues can be resolved with DIY solutions.
Q: Why won't my Bosch dishwasher dry plastic items? A: Bosch dishwashers use condensation drying instead of heated air. Plastic doesn't retain heat like glass/ceramic, so water doesn't evaporate as effectively. This is normal Bosch performance—not a defect. Solutions: use rinse aid at maximum setting (5-6), select Sanitize cycle for hotter final rinse, enable AutoAir feature if equipped, or accept hand-drying plastic items.
Q: Is rinse aid really necessary if I use dishwasher pods with built-in rinse aid? A: Yes, absolutely. The rinse aid in pods is insufficient for proper drying performance. The separate rinse aid dispenser releases product during the final rinse cycle specifically for drying—pods release during the wash cycle. For best results, always fill the rinse aid dispenser even when using all-in-one pods. This is especially critical for Bosch and Miele dishwashers.
Q: What's the best dishwasher cycle for drying dishes completely? A: The Sanitize cycle provides the best drying because it uses the hottest water (165°F+) and longest heated dry time. If Sanitize isn't available, use Normal/Regular cycle with the Heated Dry or Extra Dry option enabled. Avoid Eco, Quick, and Light cycles as these skip or minimize heated drying to save energy.
Q: Why does my dishwasher leave water pooling in cups and bowls? A: This is a loading issue, not a dishwasher malfunction. Cups, bowls, and containers must be angled so water drains instead of pooling. Load items at 45-degree angles facing downward, never flat or upright. Also unload the bottom rack first—water from bottom items drips onto already-dry top rack items if you unload top-to-bottom.
Q: Should I open the dishwasher door immediately after the cycle finishes? A: It depends on your dishwasher type. For dishwashers with AutoOpen features (Miele, some Bosch), the door opens automatically for optimal drying. For standard models, letting dishes sit 5-10 minutes after cycle completion allows residual heat to evaporate remaining moisture. Opening immediately releases heat needed for drying.
Q: Can a dishwasher not drying cause mold or bacteria growth? A: Yes, persistently wet dishes can develop mold and bacteria if loaded away damp. This is especially concerning with plastic food storage containers that don't dry well. If your dishwasher consistently leaves dishes wet, address the issue promptly or ensure all items are thoroughly air-dried before putting away. Wet dishwasher interiors can also develop mold and odors.
Q: Why did my dishwasher suddenly stop drying when it used to work fine? A: Sudden loss of drying performance usually indicates a failed heating element (most common), tripped high-limit thermostat, or empty rinse aid dispenser you forgot to refill. For gradual decline over months, suspects include accumulating scale/mineral deposits on the heating element reducing efficiency, or vent blockages from debris buildup.
Q: Are Bosch dishwashers worse at drying than other brands? A: No, they use a different drying method. Bosch (and most European brands) use condensation drying which is more energy-efficient but requires rinse aid and proper technique. American brands often use heated air which dries faster but uses more energy. With proper rinse aid use and settings, Bosch dries as well as any brand—just differently.
Q: How can I tell if my dishwasher heating element is broken? A: Run a heated dry cycle and carefully open the door partway through the drying phase—you should feel warmth and see steam. No heat means a failed element. You can also test with a multimeter: disconnect power, access element terminals, test resistance (should read 15-30 ohms). Infinite resistance means the element is burned out and needs replacement.
Dishes not drying in your dishwasher in Toronto? Contact JK Appliances at +1 647-560-8966 for professional diagnosis and same-day repair. We service all major dishwasher brands including Bosch, Samsung, LG, and Whirlpool!
Expert Tips & Pro Insights
💡 Pro Tip: Regular maintenance can prevent 80% of appliance problems. Follow manufacturer guidelines for cleaning and care.
⚠️ Safety Warning: Always disconnect power before attempting any repairs or inspections. If you smell gas, evacuate immediately and call emergency services.
🔧 Technician Insight: Many issues that seem complex often have simple solutions. Start with basic troubleshooting before assuming the worst.
📞 When to Call a Professional: If you encounter electrical components, gas lines, refrigerant systems, or if basic troubleshooting doesn't resolve the issue, it's time to call an expert.